Participant 1
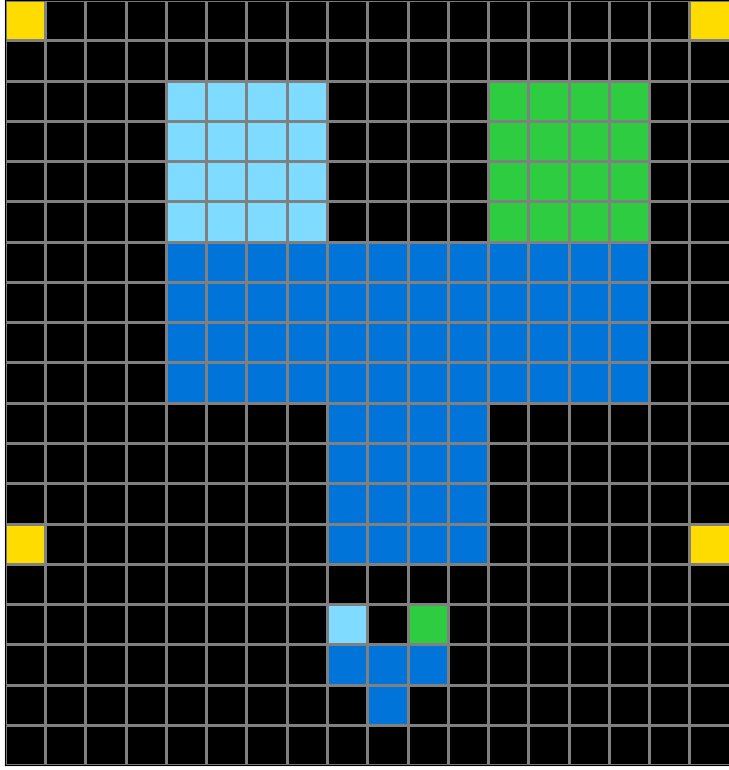
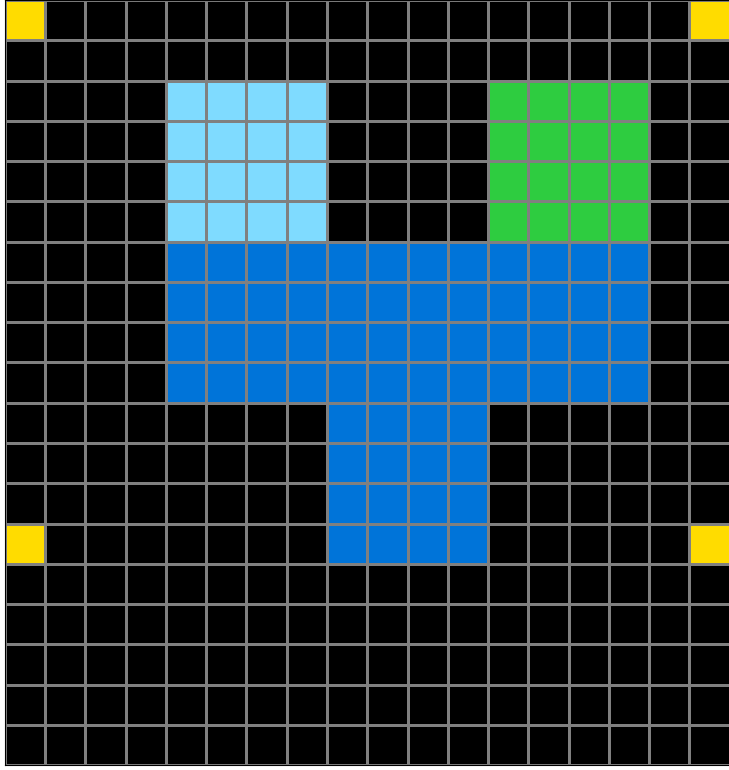
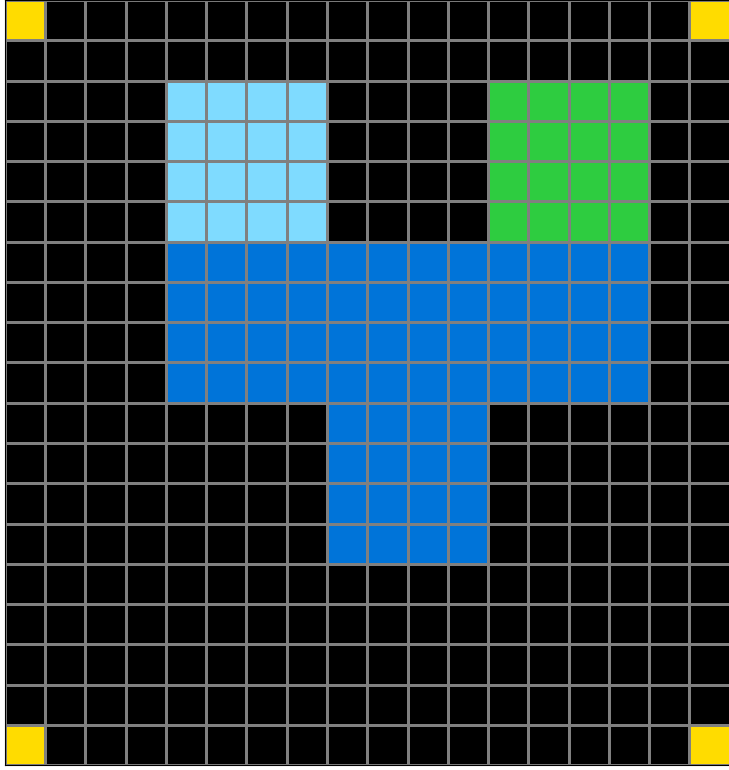
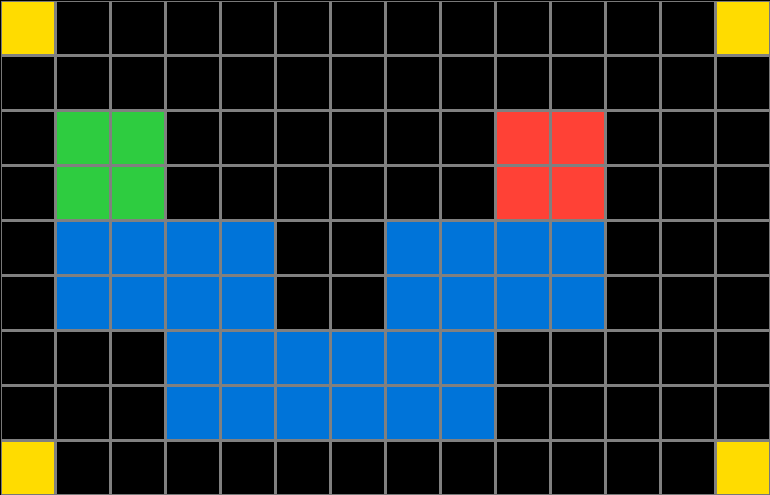
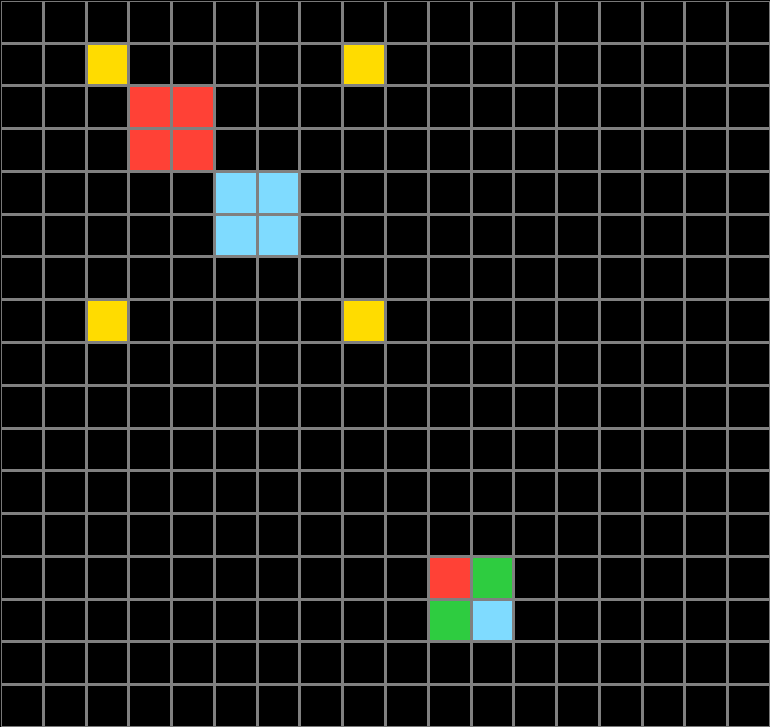
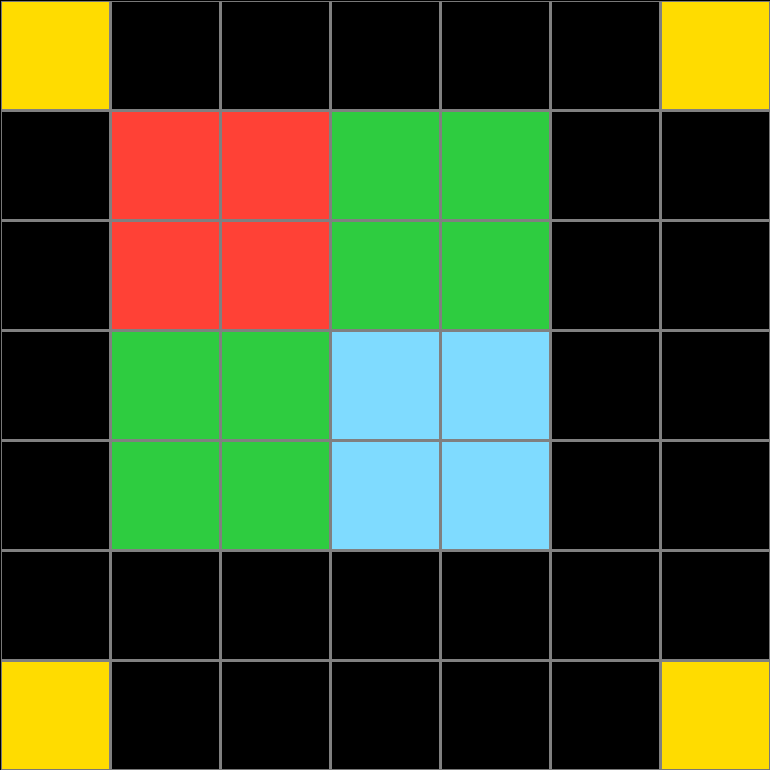
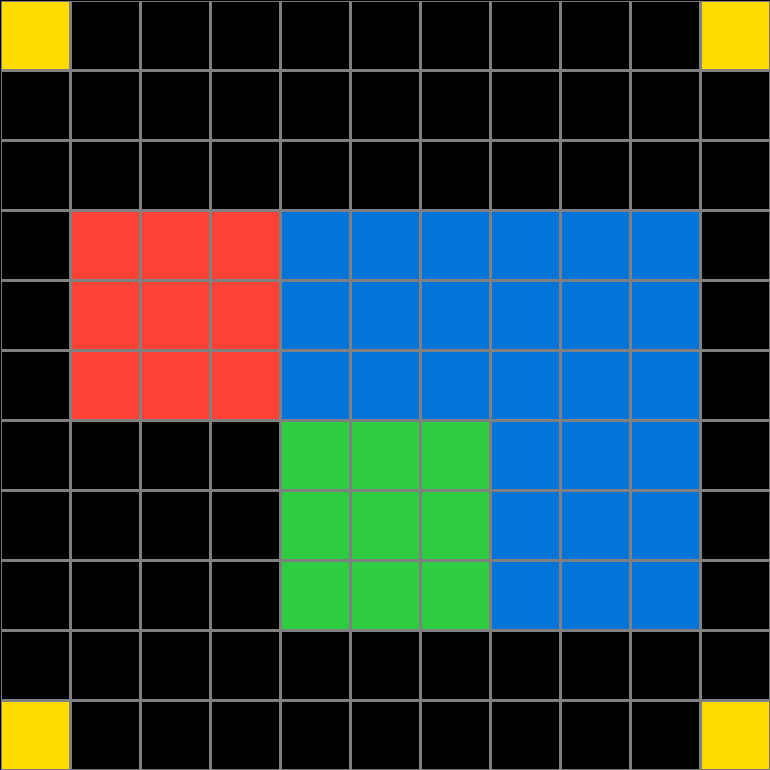
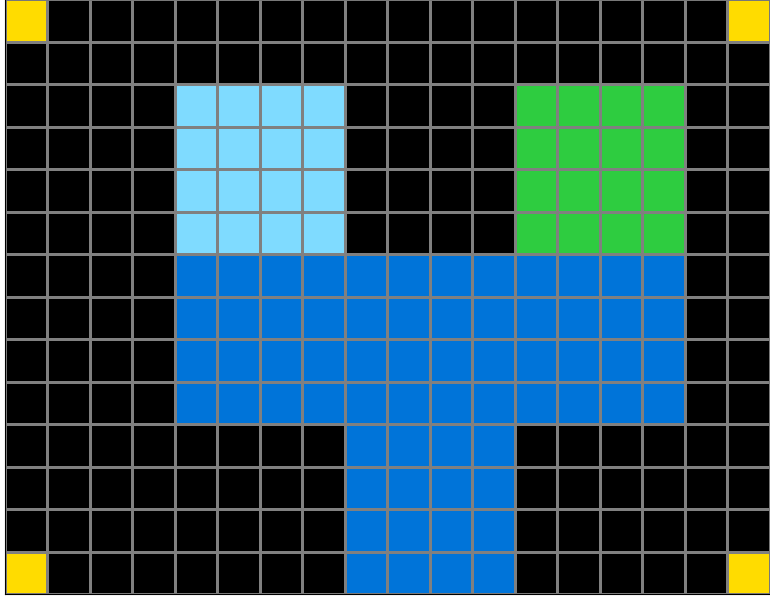
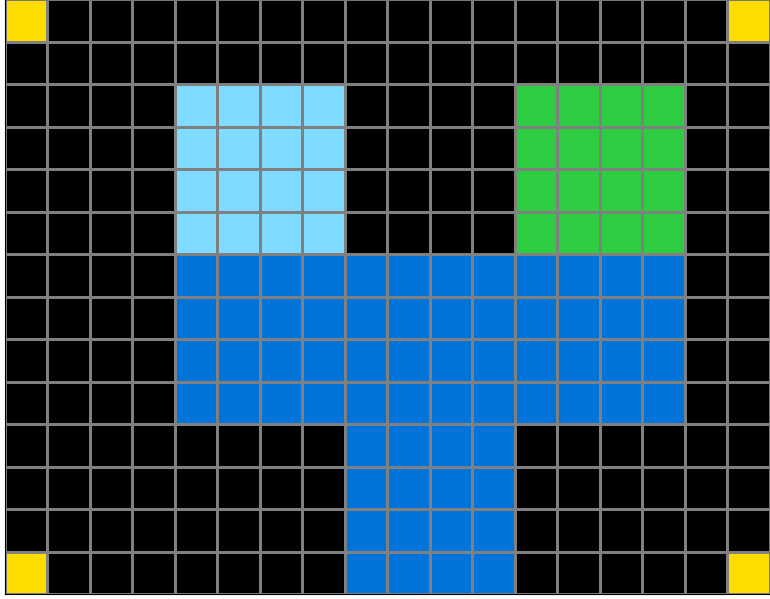
Initial description: The total area of the output should be the same as the total area inside the yellow squares of the input grid. Then you try to recreate the shape of the object outside the yellow corners. You use the same size of squares inside the yellow corners.
Final description: The total area of the output should be the same as the total area inside the yellow squares of the input grid. Then you try to recreate the shape of the object outside the yellow corners. You use the same size of squares inside the yellow corners.
Participant 2
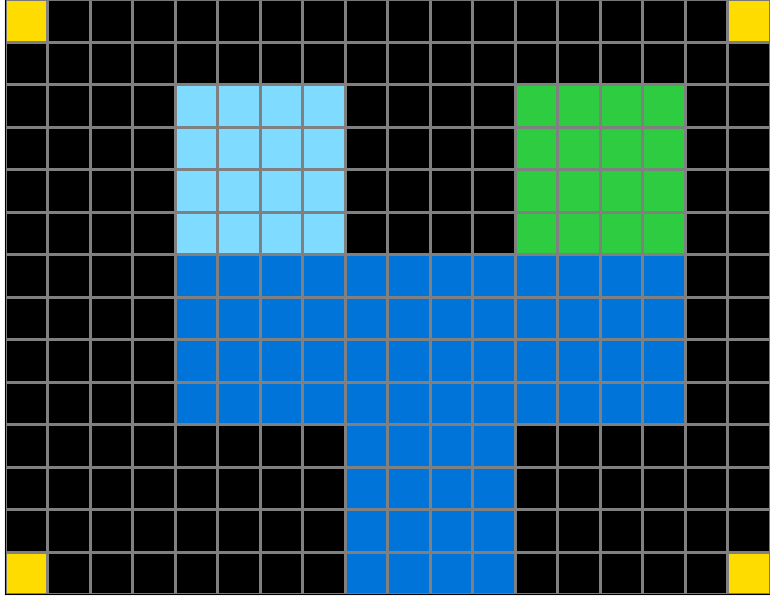
Initial description: The rule was to section off the part with the yellow corners and fill in the section with colors to match the shape outside that part aligned with the pieces that were in there.
Final description: The rule was to section off the part with the yellow corners and fill in the section with colors to match the shape outside that part aligned with the pieces that were in there.
Participant 3
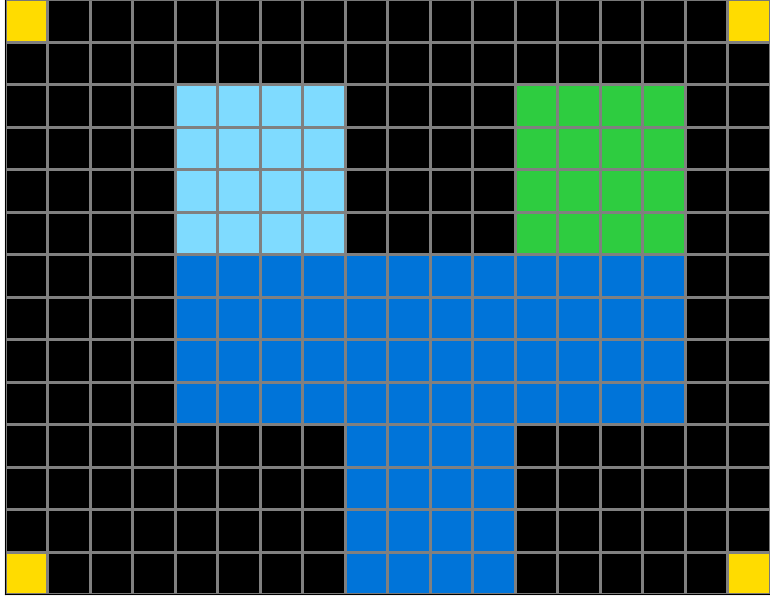
Initial description: get dimensions of the grid from the yellow squares and copy the yellow squares to the corners of the grid. Recreate the object outside of the yellow squares, but each block should now be made of a number of smaller blocks. The number of smaller blocks is based on how many smaller blocks make up the larger overall blocks inside the yellow squares in the test input
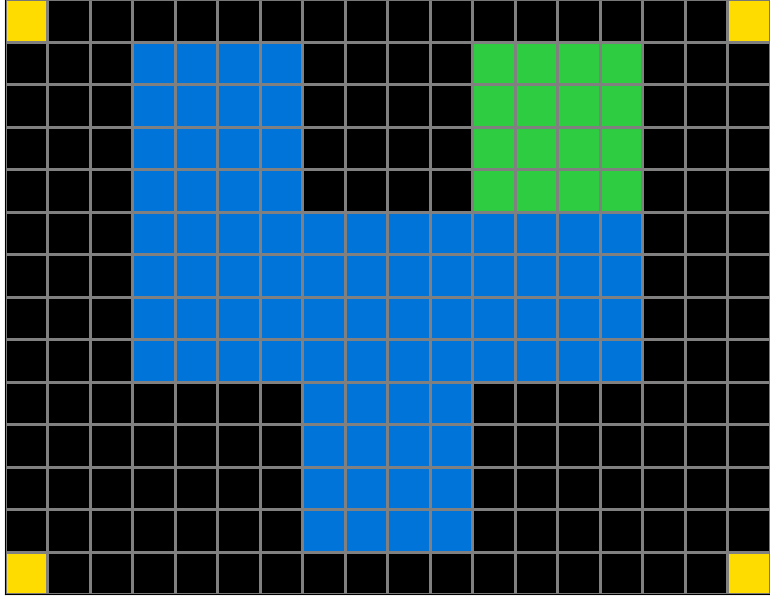
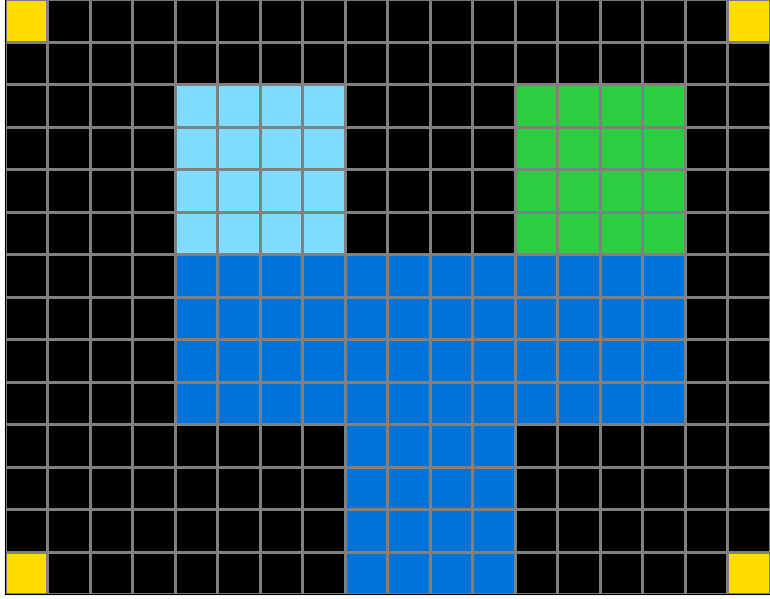
Final description: Copy the test input grid, adjust it so the yellow squares are now the corners of the grid. Some of the blocks will match the object that was out of the yellow squares in the test input. Recreate the initial test object with with size adjusted blocks
Participant 4
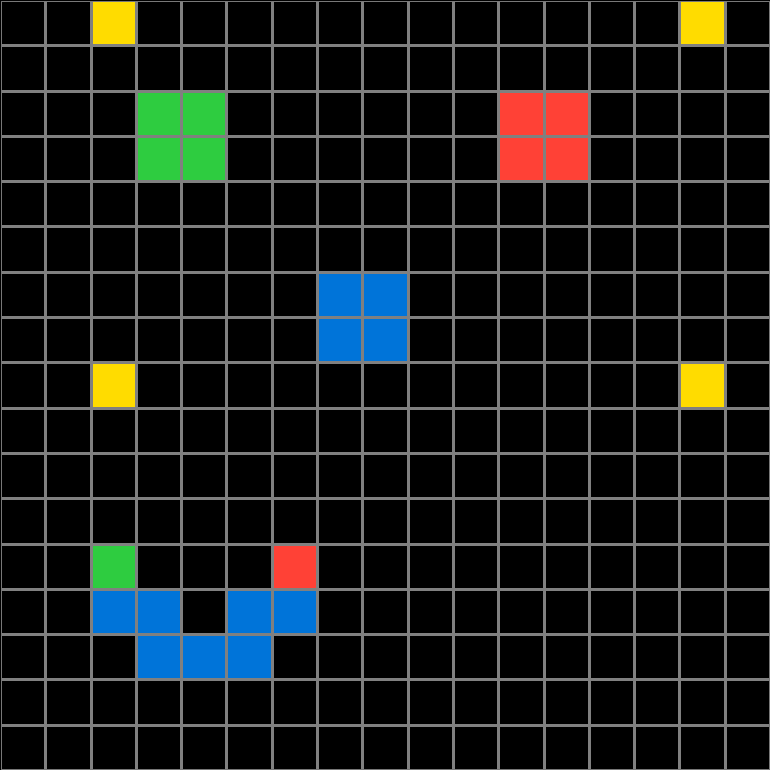
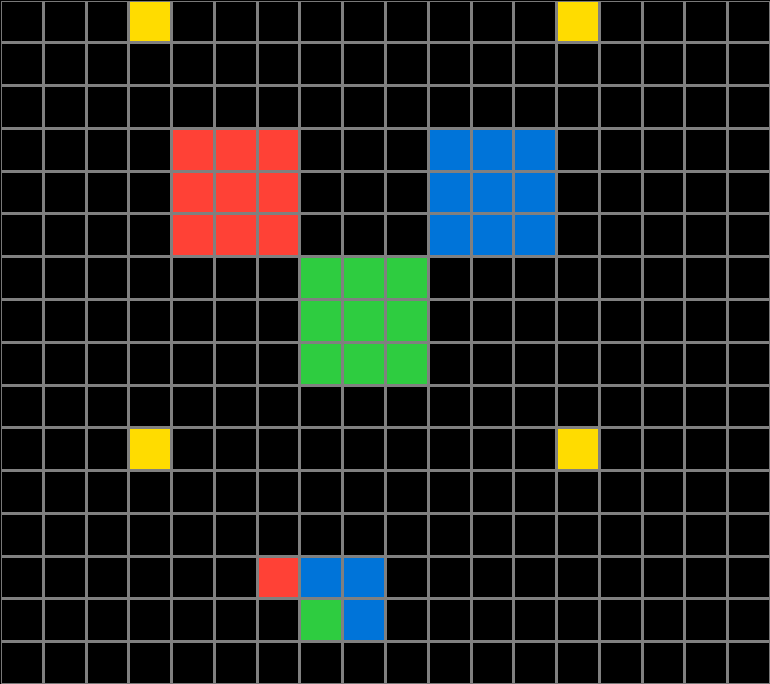
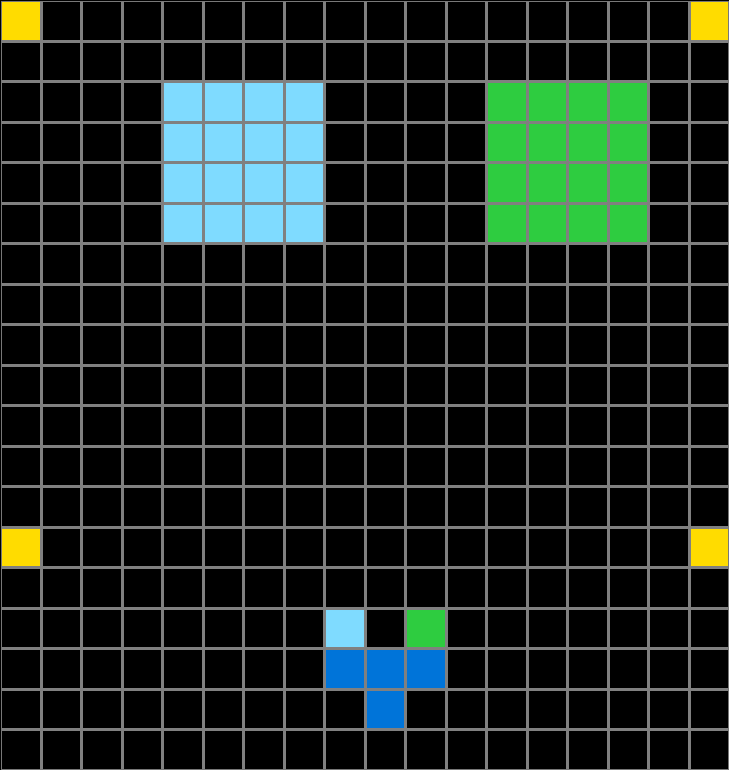
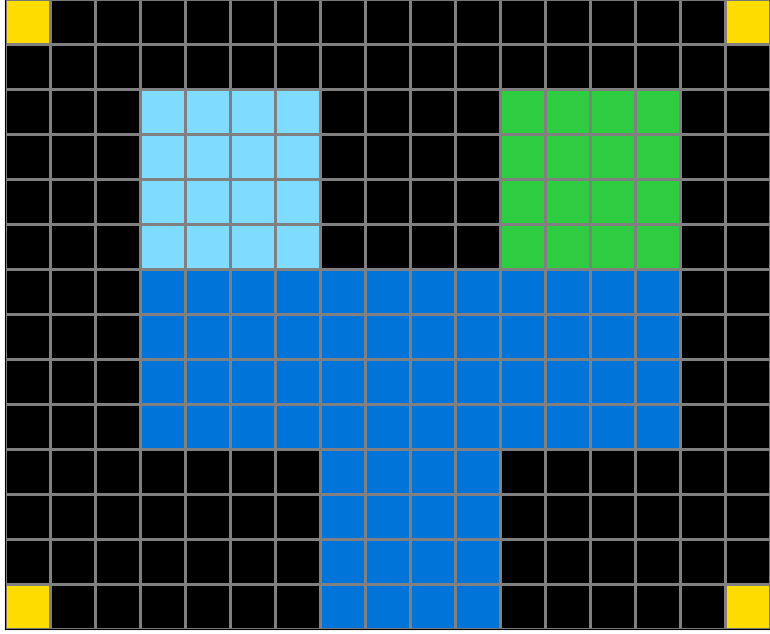
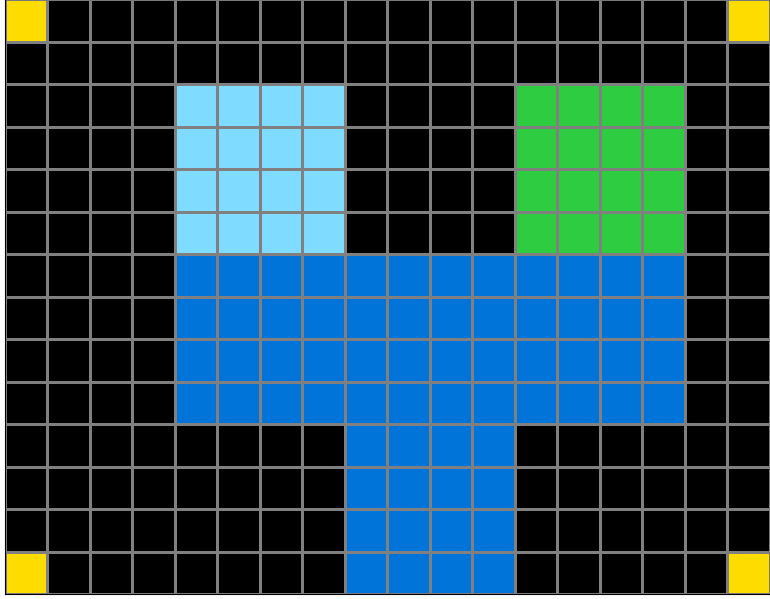
Initial description: The bottom part of the test input provides a blueprint of what the test output will look like. The top part shows the number of blocks to use as the test output.
Final description: The blocks at the bottom part of the test input provides the blueprint of what the test output will look like while the top part of the test input shows the position and number of blocks to be used in the test output.
Participant 5
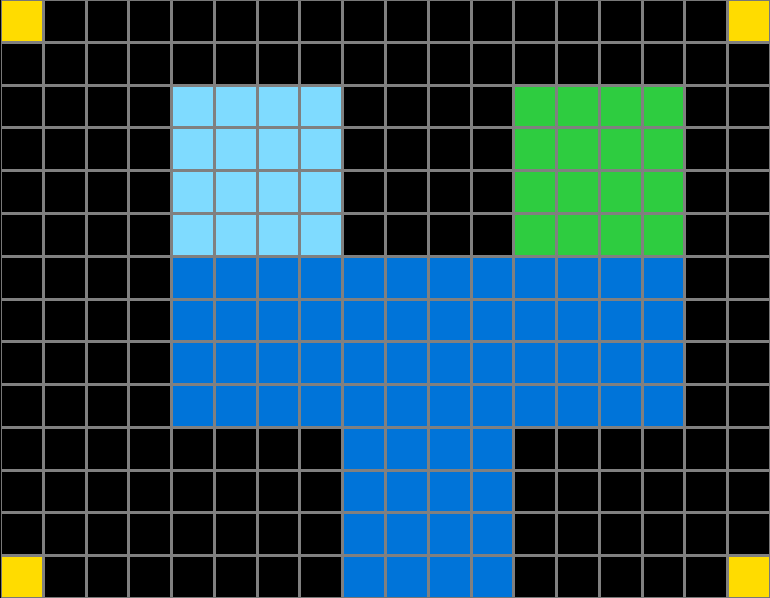
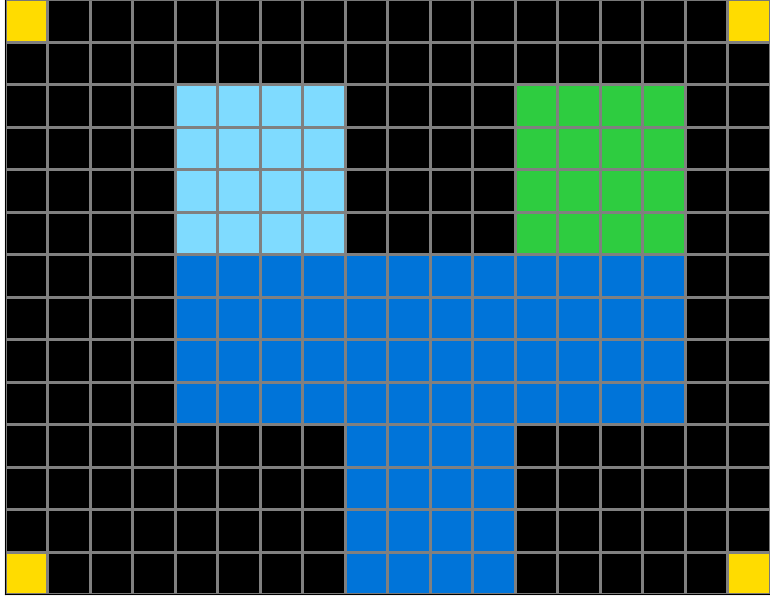
Initial description: Create a grid equal to the size/distance between all of the 4 yellow squares. Then, place the 4 yellow squares in each corner. Place the colored squares inside the yellow squares in their position related to the yellow squares. Finally, use the small square shape object outside the yellow square and create that same shape using the colored squares that were inside the yellow square to represent the colors of the smaller sized shape outside the yellow.
Final description: Create a grid equal to the size/distance between all of the 4 yellow squares. Then, place the 4 yellow squares in each corner. Place the colored squares inside the yellow squares in their position related to the yellow squares. Finally, use the small square shape object outside the yellow square and create that same shape using the colored squares that were inside the yellow square to represent the colors of the smaller sized shape outside the yellow.
Participant 6
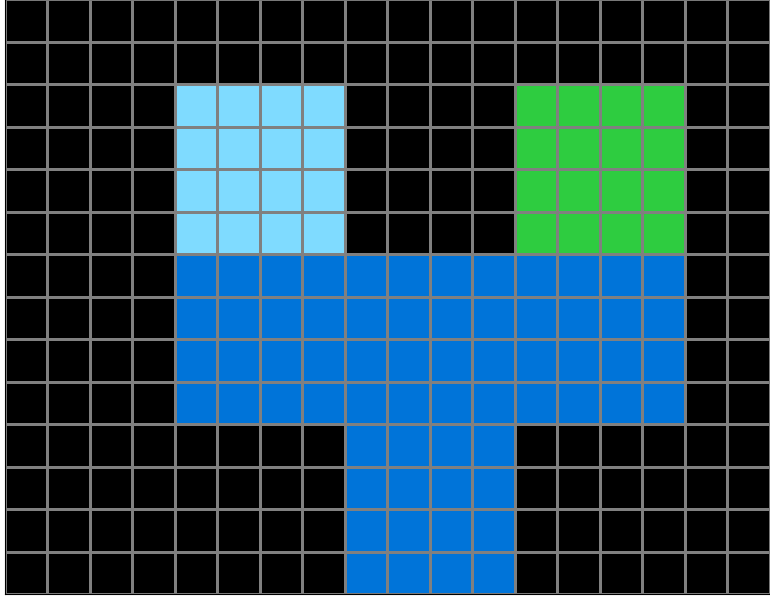
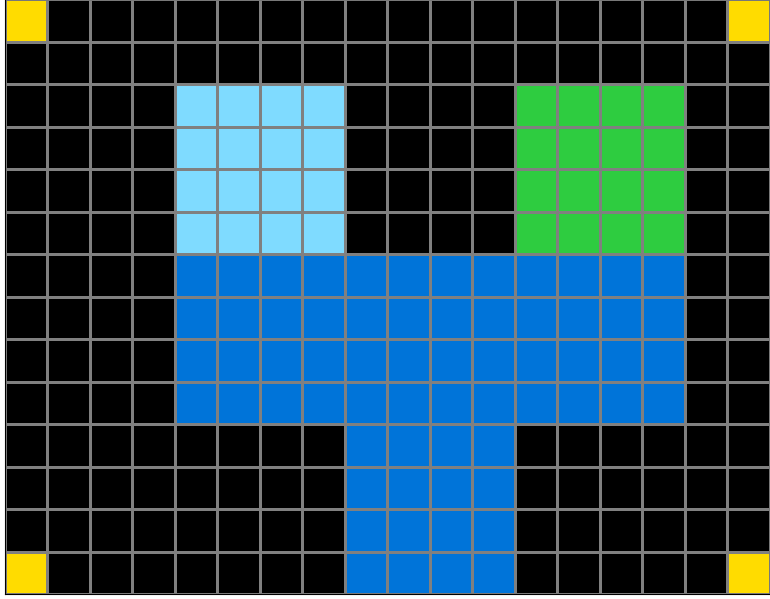
Initial description: The yellow squares show how the initial grid is to be resized. The colored boxes initially within the yellow squares stay in the same place and the shape initially outside of the yellow squares is added within the new border and scaled to the new grid's dimensions.
Final description: The yellow boxes indicate the new borders of the output grid. Colored boxes within the yellow boxes remain the same in the output and the shape that is initially outside of the yellow boxes gets added within the new borders and scaled appropriately. There is always a bit of overlap in the the colored squares within the yellow border and the ones outside of it, which helps give the proper scale.
Participant 7
Initial description: Crop the grid to the four yellow dots then copy the pattern that was cropped out onto the shapes within the four yellow dots.
Final description: Crop the grid to the four yellow dots then copy the pattern that was cropped out onto the shapes within the four yellow dots.
Participant 8
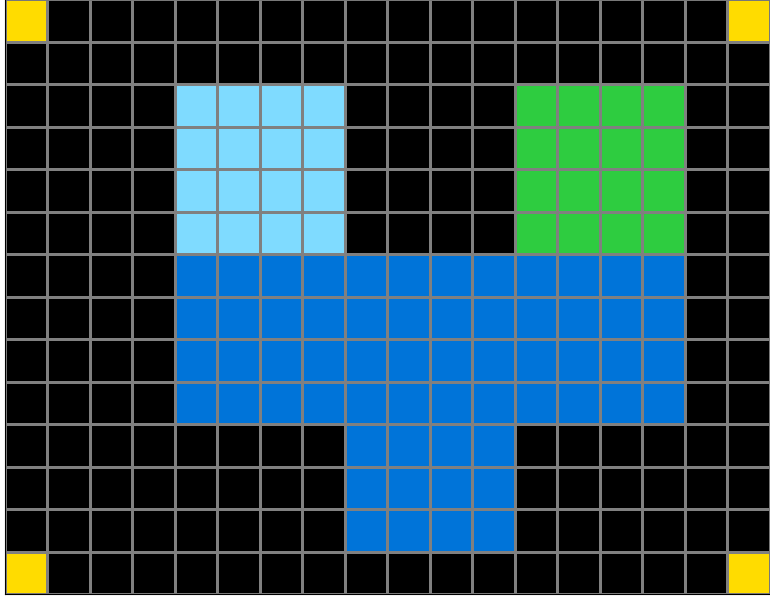
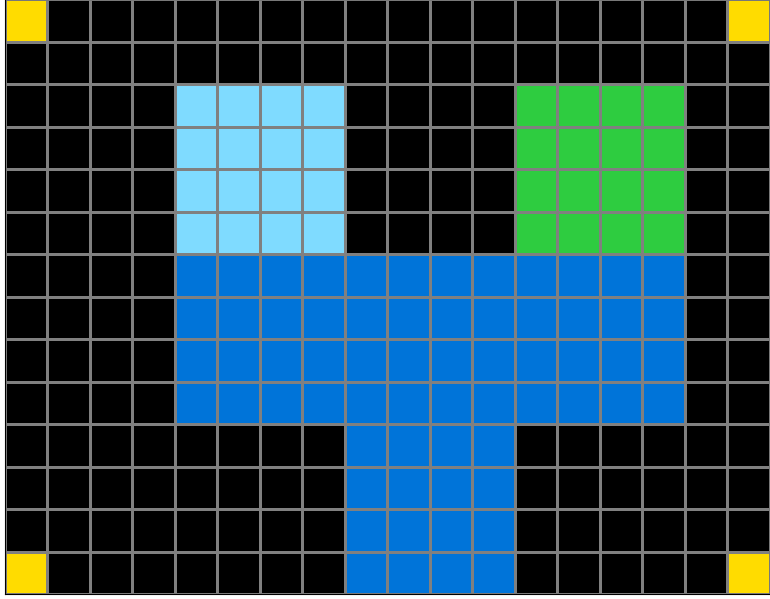
Initial description: use yellow squares to define edges and colored squares to define placement of shape
Final description: use yellow squares to define edges and colored squares to define location and size of shape
Participant 9
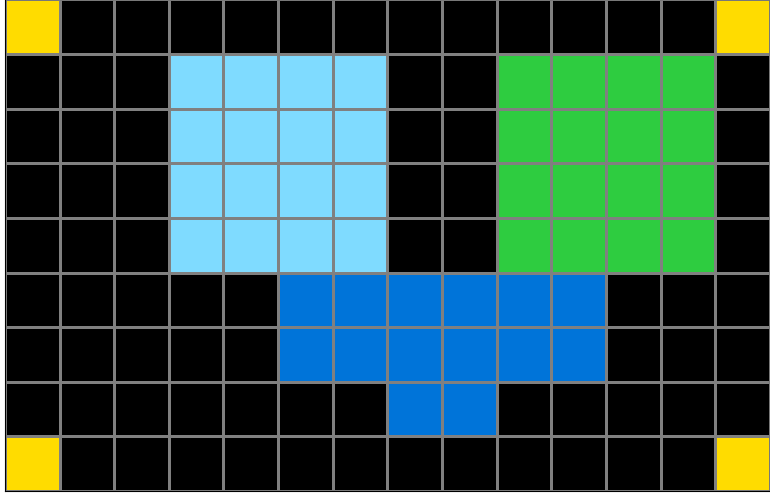
Initial description: i have understand input and output and then do it.
Final description: i have understand input and output and then do it.
Participant 10
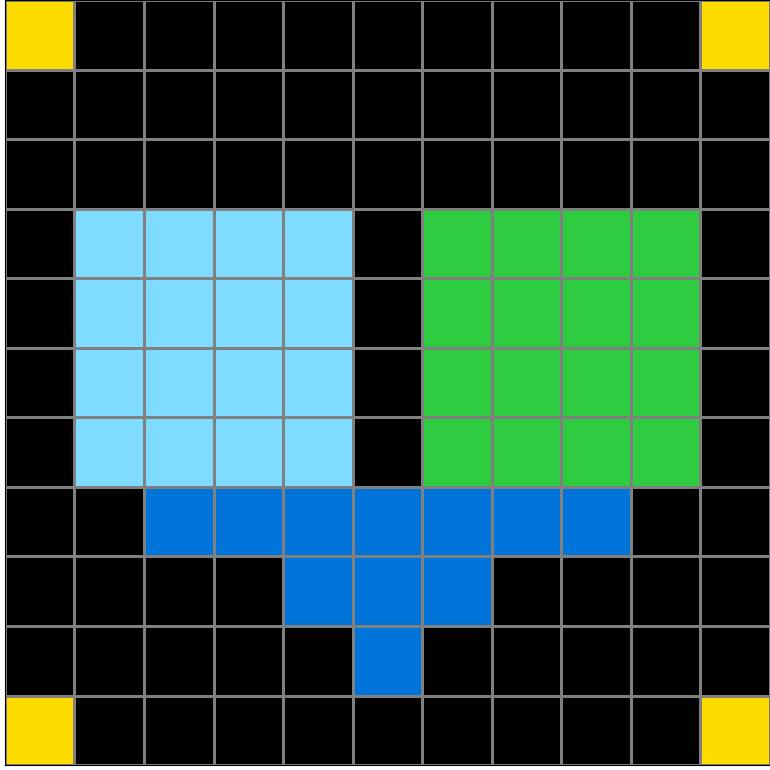
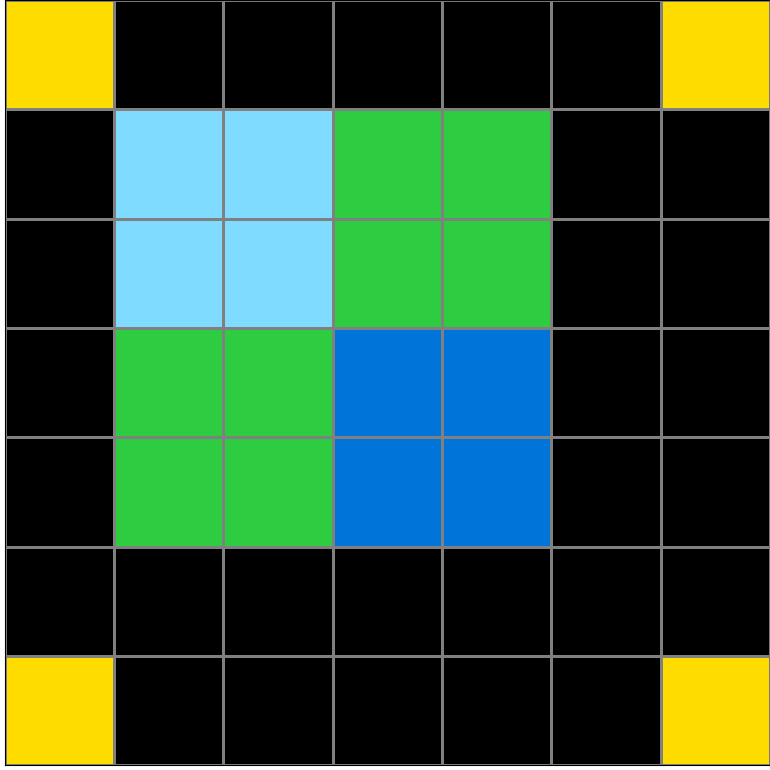
Initial description: Reduce grid to yellow box area. Copy shape.
Final description: I just didn't have the right amount of layers.
Participant 11
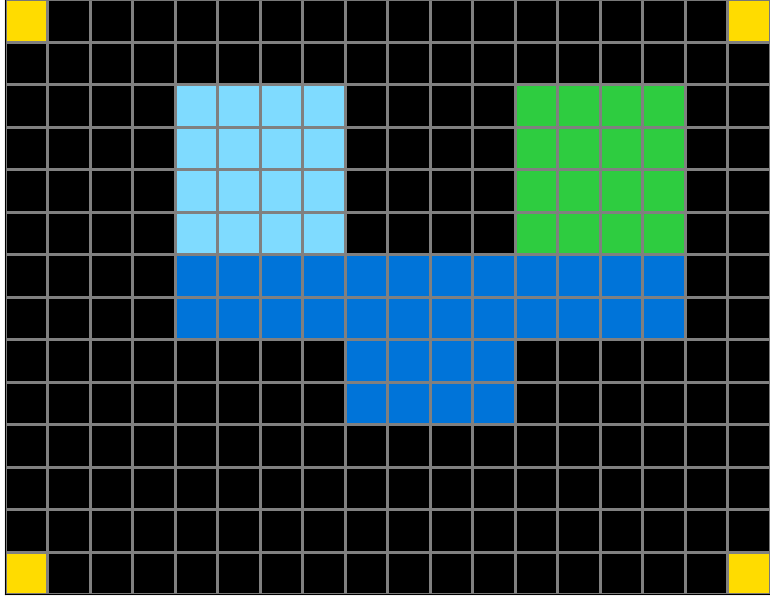
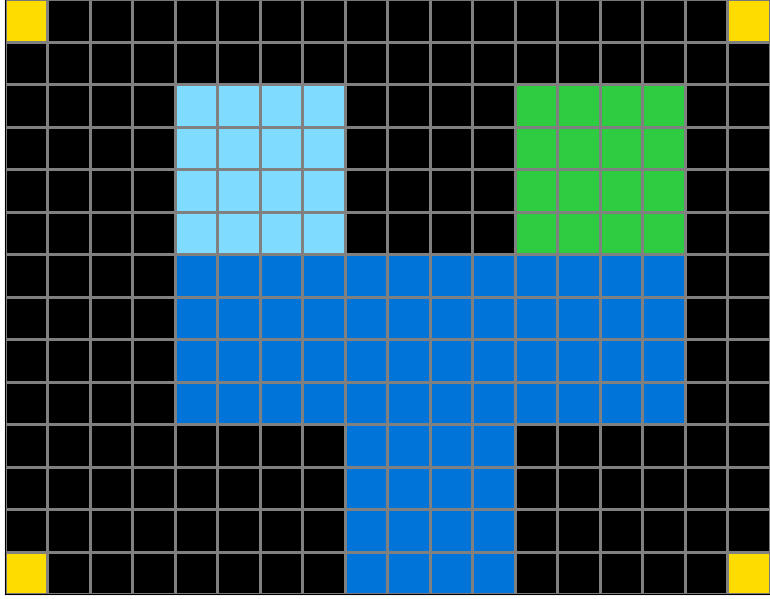
Initial description: Using the tool I make the correct size of the grid and mak the shells with given input.
Final description: Using the tool I make the correct size of the grid and mak the shells with given input.
Participant 12
Initial description: I wasn't given the chance to copy. I need to redo.
Final description: I thought the rule was any shape that wasn't square would go in the grid. Then, following what I saw in the example output, it seemed all 4 corners should be yellow and the shape should be one up from the bottom, and a blank row between the top yellow squares horizontally, and 3 over from the right.
Participant 13
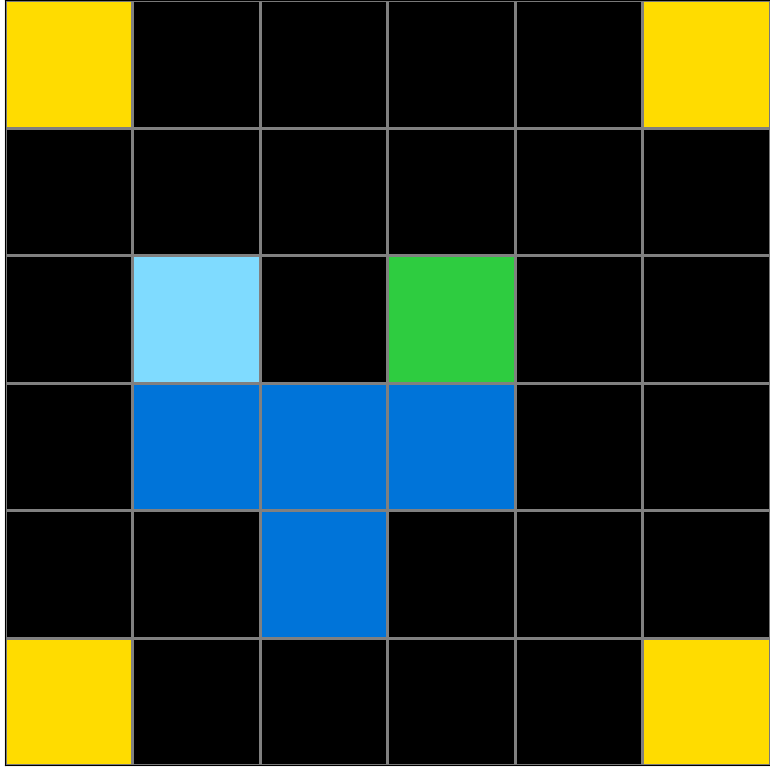
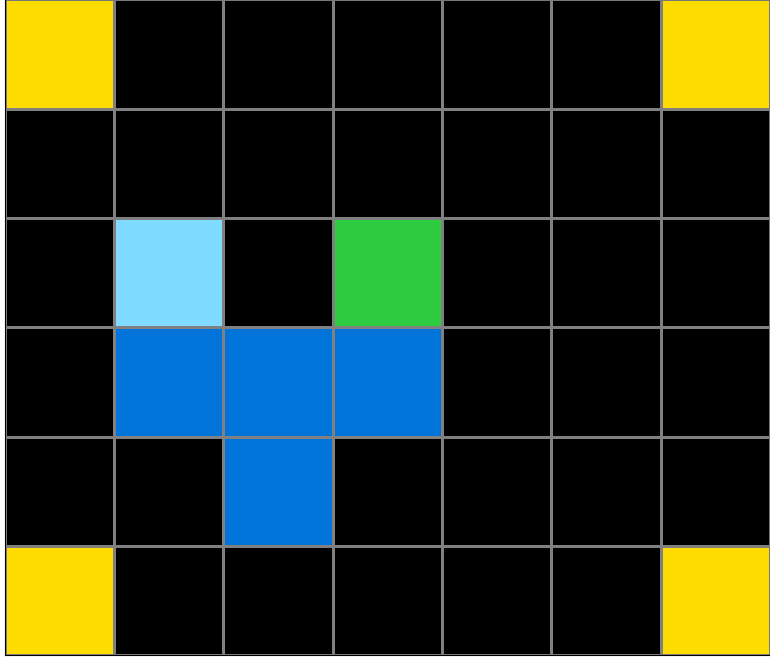
Initial description: Added the blue squares across the bottom of the light blue and green boxes and added and a box on the bottom/middle.
Final description: To match the bottom one.
